| How to replace the
EL-foil
for example AKAI S1000
The installation is relatively
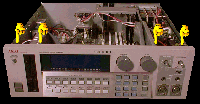
simple. First you will need to remove the rack plates and the cover. Then
you will need to remove the front plate from the rest of the assembly. On
the Akai there are usually 4 screws on
the top and 3 to 6 screws on the bottom that need to be removed to do this.
Finally, after pulling off the volume and input knobs, the cover should
come off. The display panel should now be accessible.
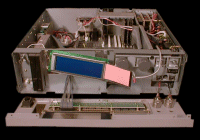
On one side you will see a flat band-cable going from the display to the
main board. On the other side there should a double wire running to a
smaller board. This is the power cabling for Lighting Element. Pull the
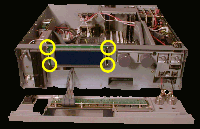
power cable from the small board and unscrew the four screws holding the
Lighting Element in place. You should now be able to carefully pull the
Lighting Element from behind the display. All that you need to do now is
to unsolder the power cable from the old Lighting Element and onto the new
element. (If you are unable to do the soldering, simply remove the
band-cable from the main board and send it all to me. I will take care of
the soldering, free of charge.) Once done soldering, work in reverse
putting it all back together experience your bright display.
Hint: It is a good idea to use some tap-band on the newly soldered wire
ends.
NOTE: To avoid possible electrostatic discharge which can damage your
device, you should ground yourself first by touching a bare metal portion
of the device frame before going near or touching any of the electronics
within.
Wolfgang
Dunczewski
WWW.MIDI-RAKETE.DE
|


